create new ticket
 check ticket status
Keep track of Account Users Time in DocketManager when applied towards Order Item Activities. Graphics, Design, Pre-Press, Web/Marketing Development, Print Production, Cutting, Bindery, Finishing, or anything else you want to keep track of the elapsed time for.
- Optionally utilize Timers to:
- Override the Hourly Cost of Bill Estimated Graphics Time.
- Override the Hourly Cost or Price of Press Time.
- Override the Hourly Cost or Price of a Department Item's Hourly Scale Rates.
- Or Add an Hourly Cost or Price to Cutting.
- Only "Finishing Type" Timer Rate Timers can be associated with Department Items.
- Before a Timer can be applied to an Item/Product, Timer Rates must first be setup.
Learn more about Creating New Timer Rates. - Users cannot have more than one Active Timer Record started/running simultaneously.
Orders > Order Level > Item Level > Right Hand Timers Block > {+}
ADDING A NEW TIMER
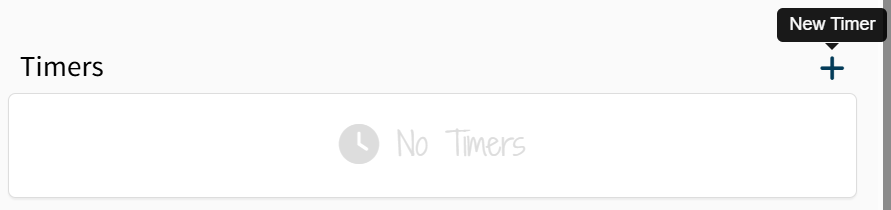
- Clicking the {+} icon at the top right of the Timers Block within an Order Item will bring up the New Timer Modal.
- Name your Timer based on the activity you are performing and want to track the time for.
- Select a Predefined Timer Rate for the activity you are performing and want to track the time for.
- All other Timer Configuration Options are predefined by the selected Timer Rate.
Learn more about Timer Configuration Options in the Creating New Timer Rates Article. - You can now {Save and Start} a new Timer Record, Create a New Timer Record, or Quick Add a New Timer Record.
QUICK ADDING TIMER RECORDS
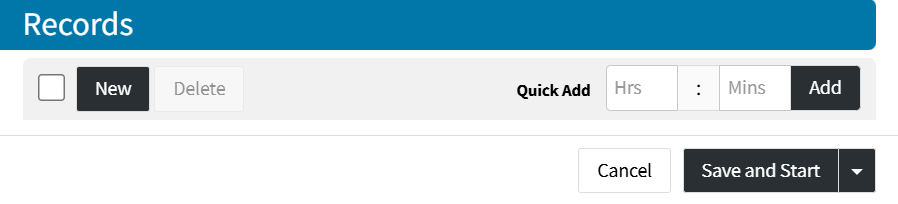
If you've been working on an activity that requires you to track time, but forgot to track the time for the duration of the activity, the Quick Add method lets you Add a Timer Record with a stop time of right now, and the start time will automatically calculate depending on the duration of time entered into the Quick Add Hours & Minutes.
- Enter the number of Hours and Minutes you've spent on the activity of a Timer, then click {Add}.
- This Adds the Timer Record of the defined length of time to this Timer.
- Click the Dropdown Arrow in the lower right corner of the Timer Modal and click {Save}
CREATING SPECIFIC NEW TIMER RECORDS
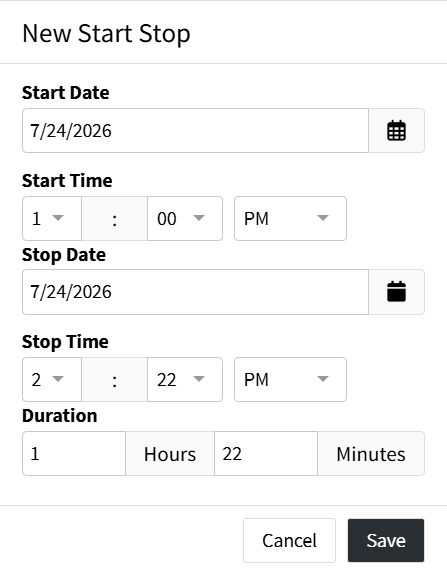
If you've worked on an activity previously that requires you to track time, but forgot to track the time for the duration of the activity and forgot to Quick Add at the end of the activity, and are required to track time specifically to the Date/Time it was performed, creating a New Record lets you be specific with the Record Start and End Date/Time.
 |
|
STARTING & STOPPING AN ACTIVE TIMER RECORD
If you want to start tracking your Time against a Timer as you perform the Activity, then Starting an Active Timer Record lets you track the elapsed time from when the Active Timer Record was Started.
- Click {Save and Start} in the Timer Modal to Start an Active Timer Record
- This starts an Active Timer Record associated with the Timer in the Order Item
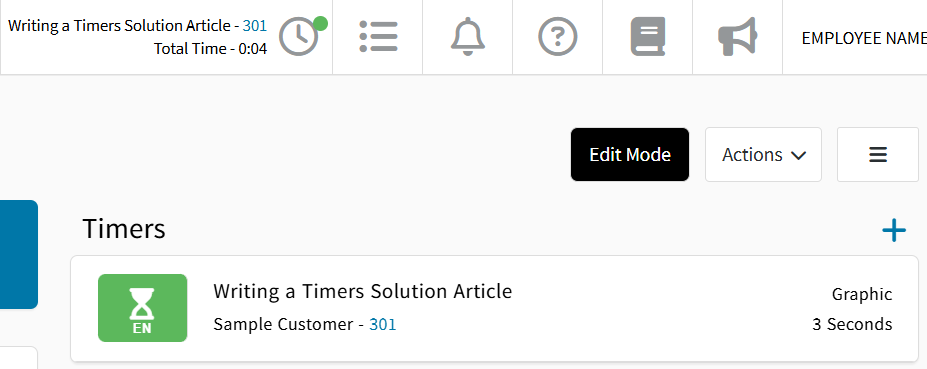
The Active Timer Record stays active while you navigate to other pages of DocketManager and can be seen actively running in the Top Navigation Bar, and a quick link is available to return back to the associated Order Item Number.
Clicking onto the {Clock Timer} Icon in the top Navigation Bar will bring out the Side Panel Access to Timers that are Active or that contain prior Timer Records from your User Account.
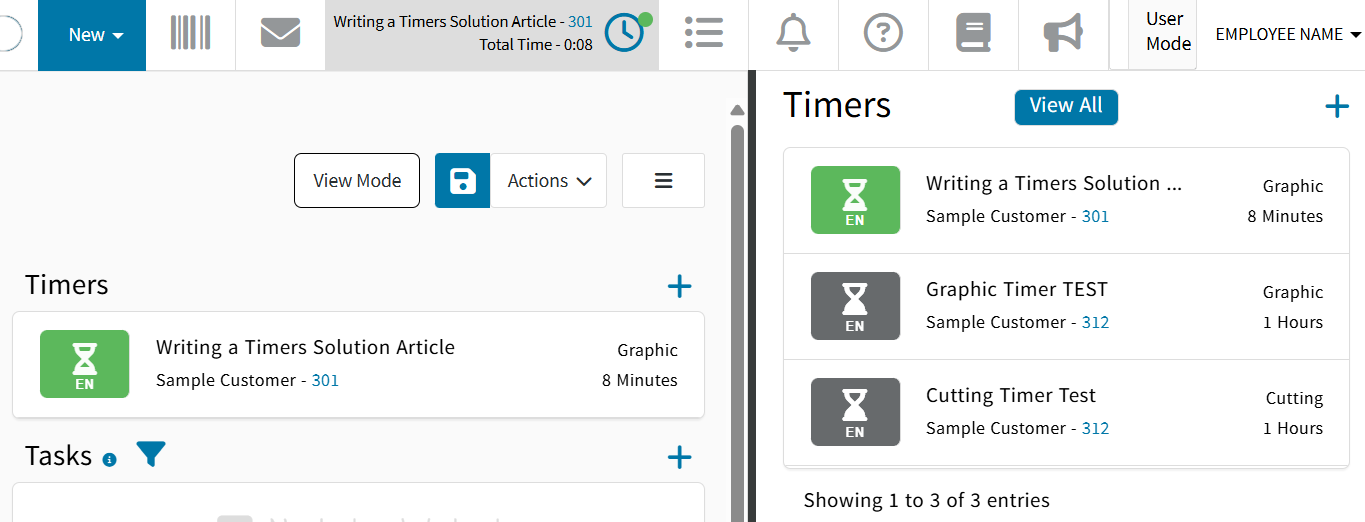
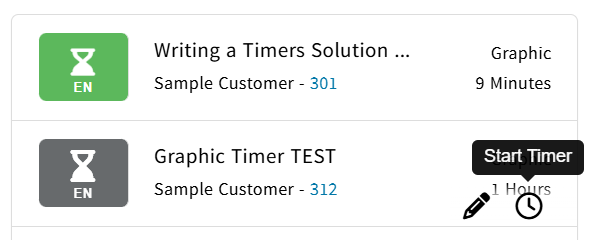
Alternative Timers you've previously worked on could be Started using the Specific Timer's {Clock Timer} Icon to switch back to working on a previous task and at the same time stopping the currently Active Timer's Timer Record.
- Users cannot have more than one Active Timer Record started/running simultaneously.
- The Specific Active Timer's {Clock Timer} Icon can also be used to stop the Active Timer Record.
EDITING TIMERS AND TIMER RECORDS
Once a Timer exists, it can be Edited by clicking the {Pencil} icon when hovering over the Timer.
Once a Timer Record exists, it can be Edited by clicking onto the Timer Record Date.
DELETING TIMERS AND TIMER RECORDS
Once a Timer exists, it can't be deleted, It can only either be repurposed to track time of an alternative activity, or it can sit empty without any Timer Records and not apply any value towards the Order Item.
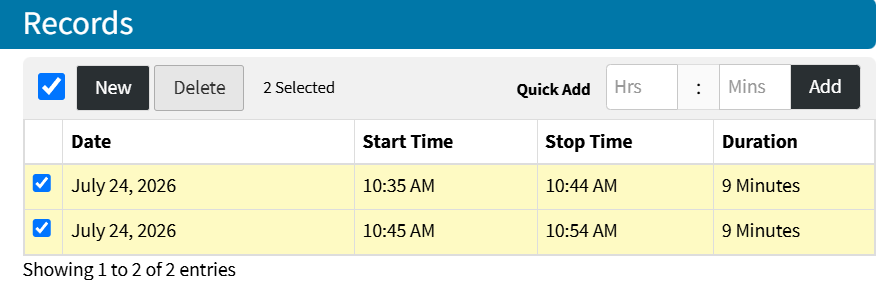
Once a Timer Record exists within a Timer, it can be Deleted by selecting the Timer Record with the checkbox, left of the Timer Record Date, and clicking the {Delete} button.